
XServerのWordPress簡単インストール機能を使って、WordPressをインストールします。
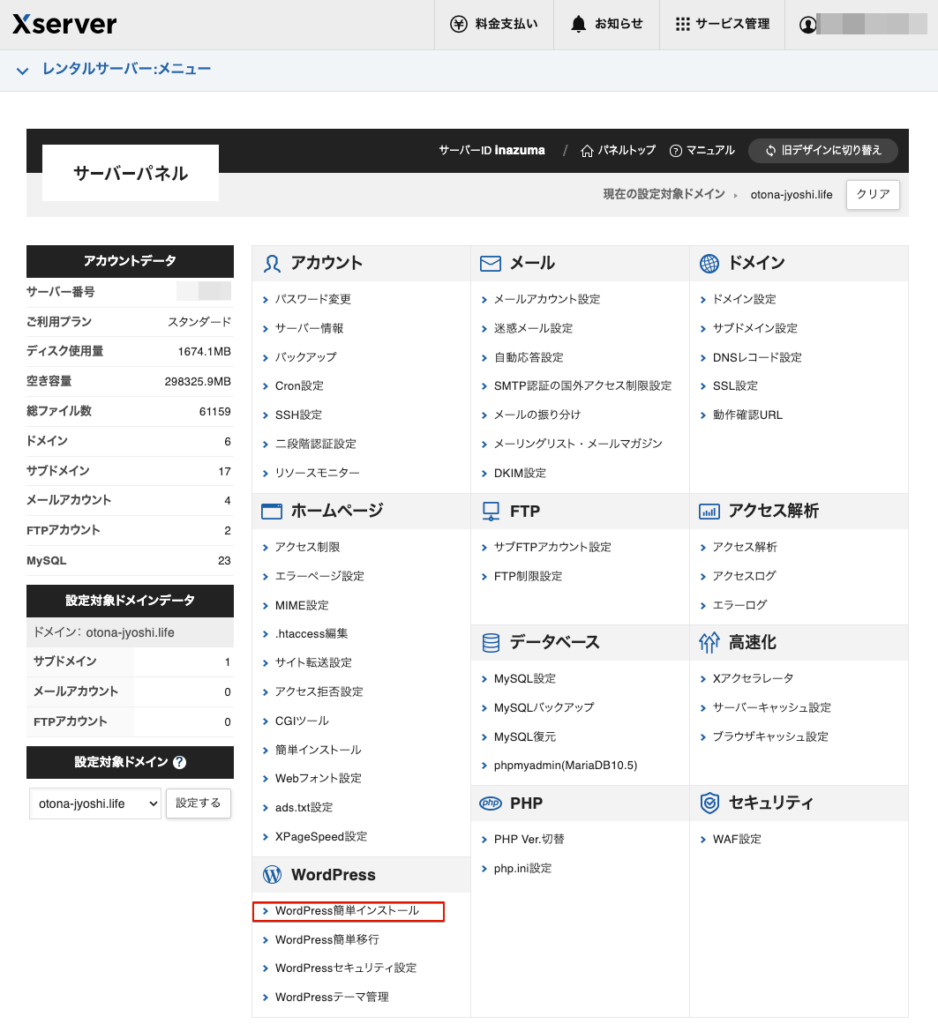
XServerへログインし、サーバーパネルから「WordPress簡単インストール」を選択します。
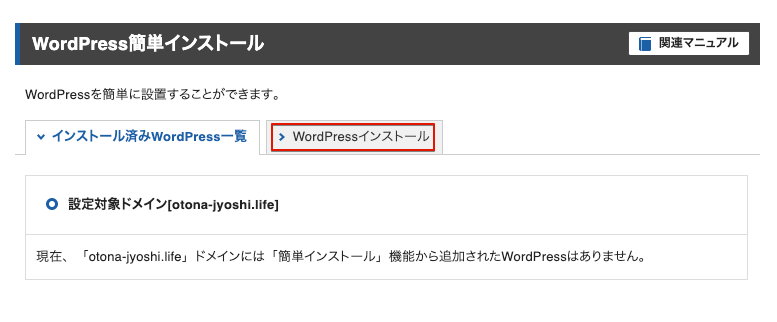
WordPress簡単インストール画面が表示されますので、「WordPressインストール」タブを選択します。
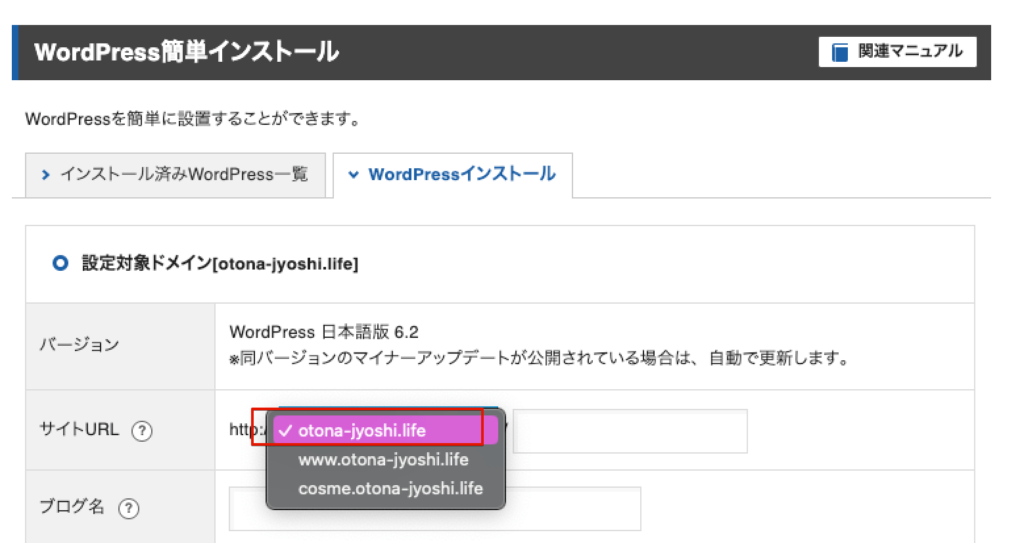
サイトURLでインストール先を選択します。
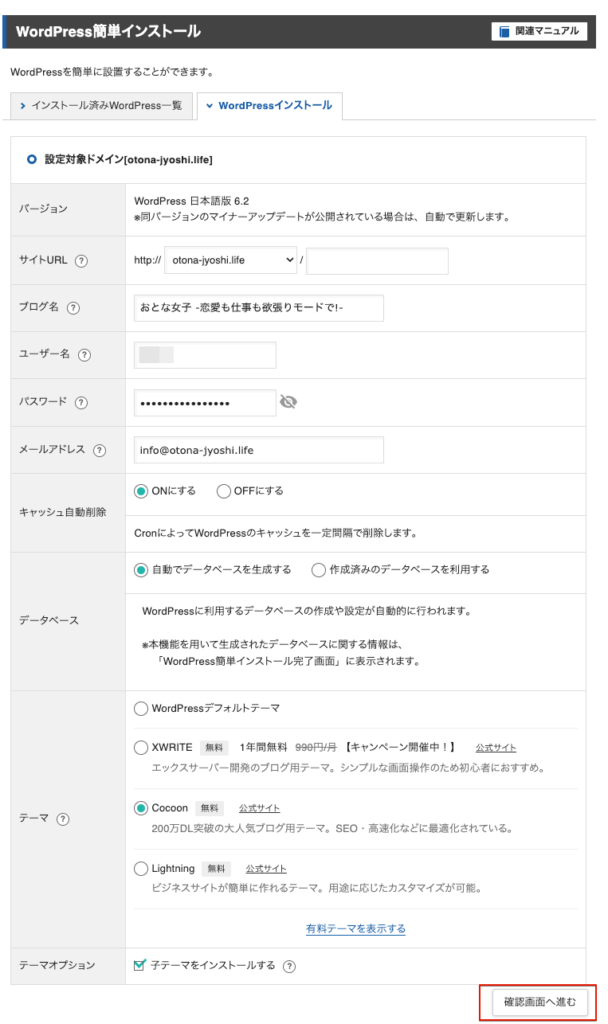
必要事項を入力します。
ここで入力したユーザー名、パスワードで管理画面にログインしますので控えます。
テーマは無料で高機能な「Cocoon」を選択しています。
お気に入りのテーマがある場合は「デフォルトテーマ」を選択し、後ほど別途テーマをインストールしてください。
入力が完了しましたら「確認画面へ進む」をクリックします。
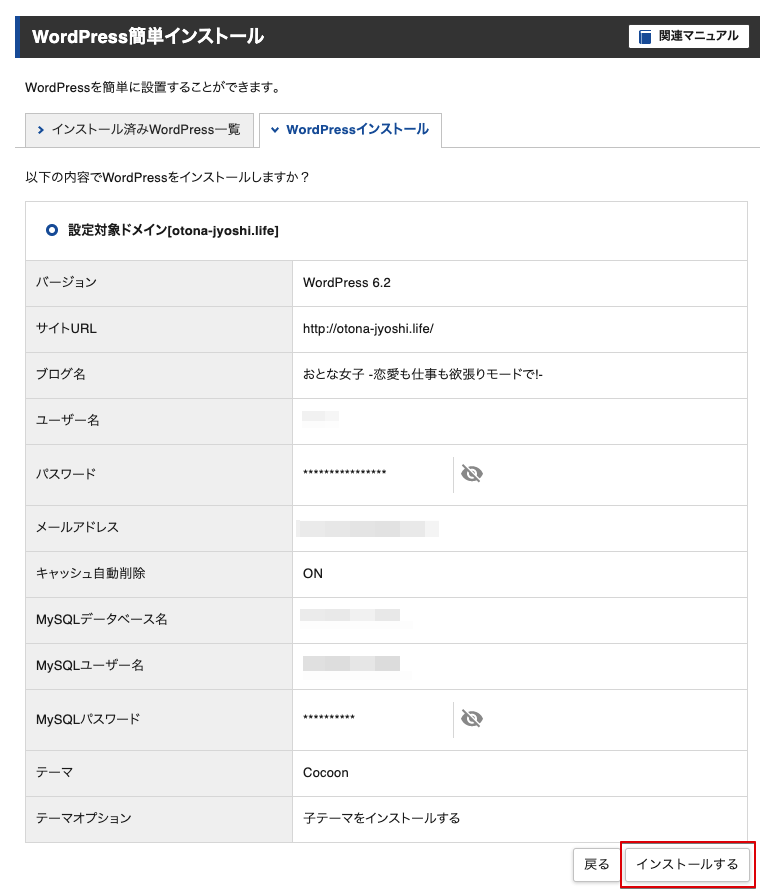
確認画面で入力項目を確認し「インストールする」ボタンをクリックします。
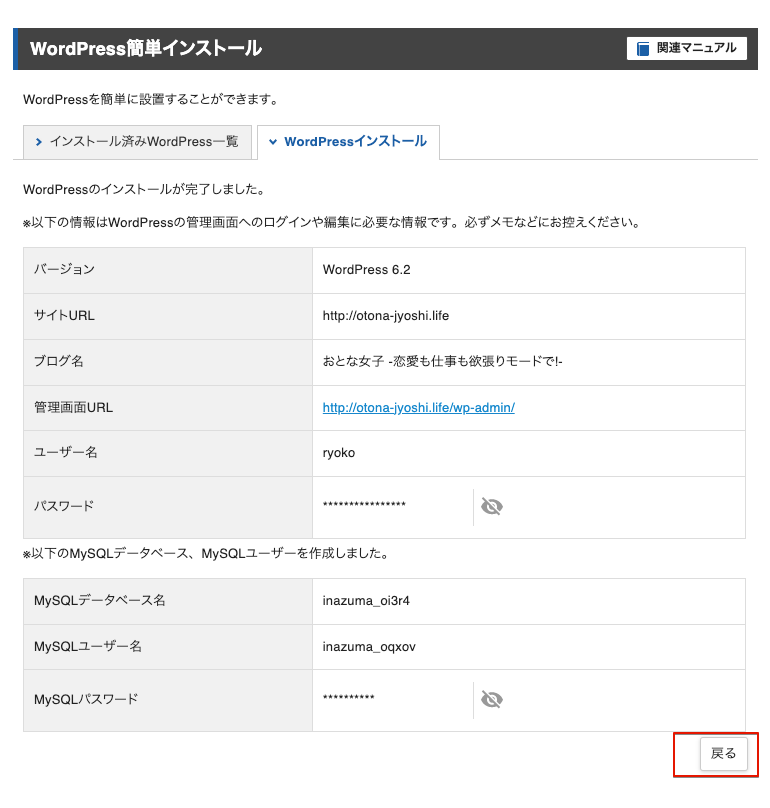
WordPressのインストールが完了しましたら、「戻る」ボタンが表示されますのでクリックします。
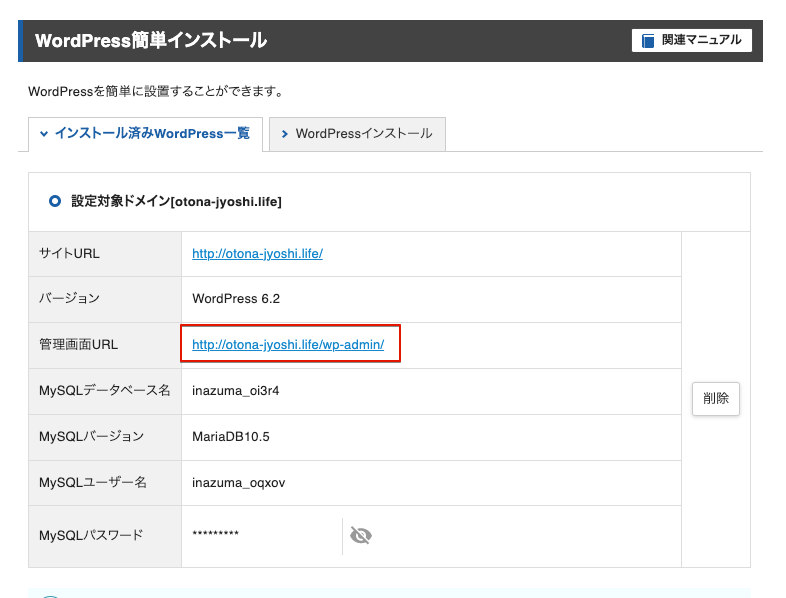
インストールされたWordPress一覧画面が表示されます。「管理画面URL」をクリックするとログイン画面が表示します。
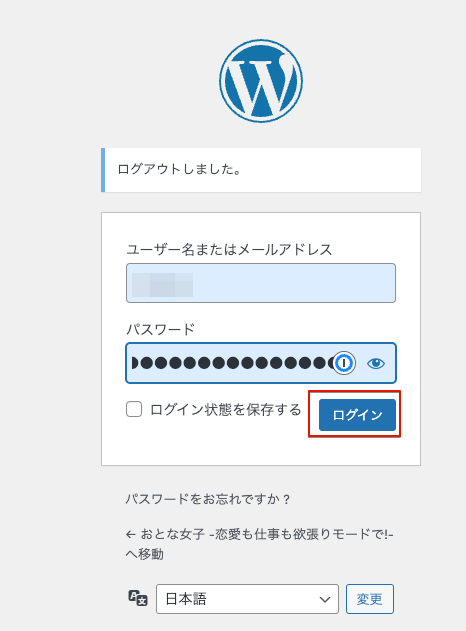
インストール時に入力したユーザー名、パスワードでログインします。
WordPressの管理画面が表示されます。
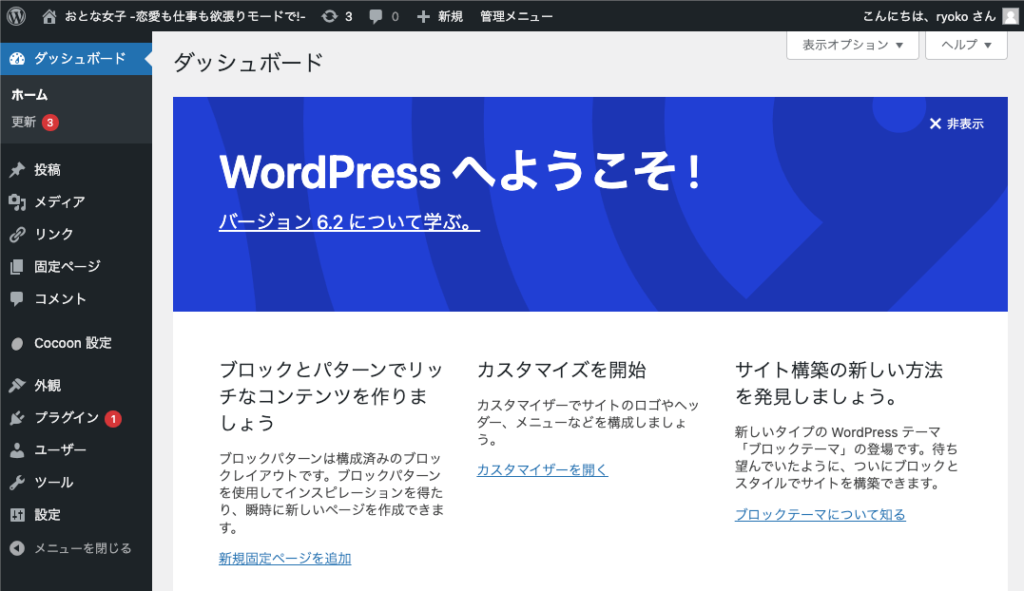

以上でWordPressのインストールが完了しました。

コメント