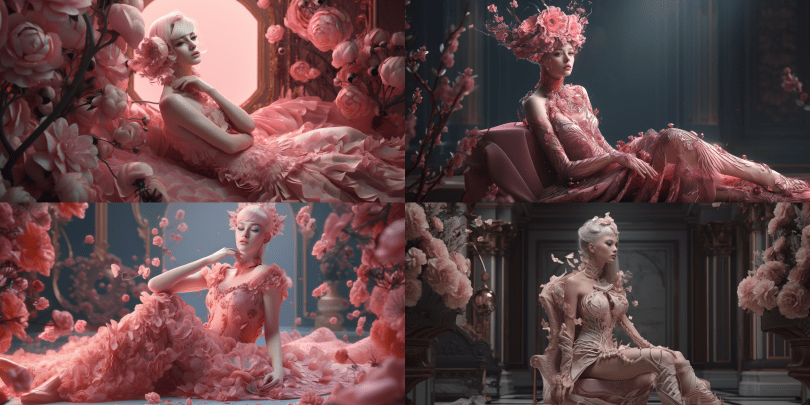
AIでイラストが作成できる自分用のサイトを紹介していますが、以下のサイトではメンドウなダウンロードやコピペなしでAIイラストを作成することができます。
だだ、有料サービスを無料の範囲で使わせてもうらうだけですので、心得ておいてください。
紹介する無料でAIイラストが作成できるサイト
- Bluewillow.ai
- Lexica.art
- Dreamlike.art
- instantart.io
- leonardo.ai
Bluewillow.ai
Bluewillow.aiは、ほぼMidjourney(見栄え、使い勝手)です。画像生成もDiscordを使っておこないます。
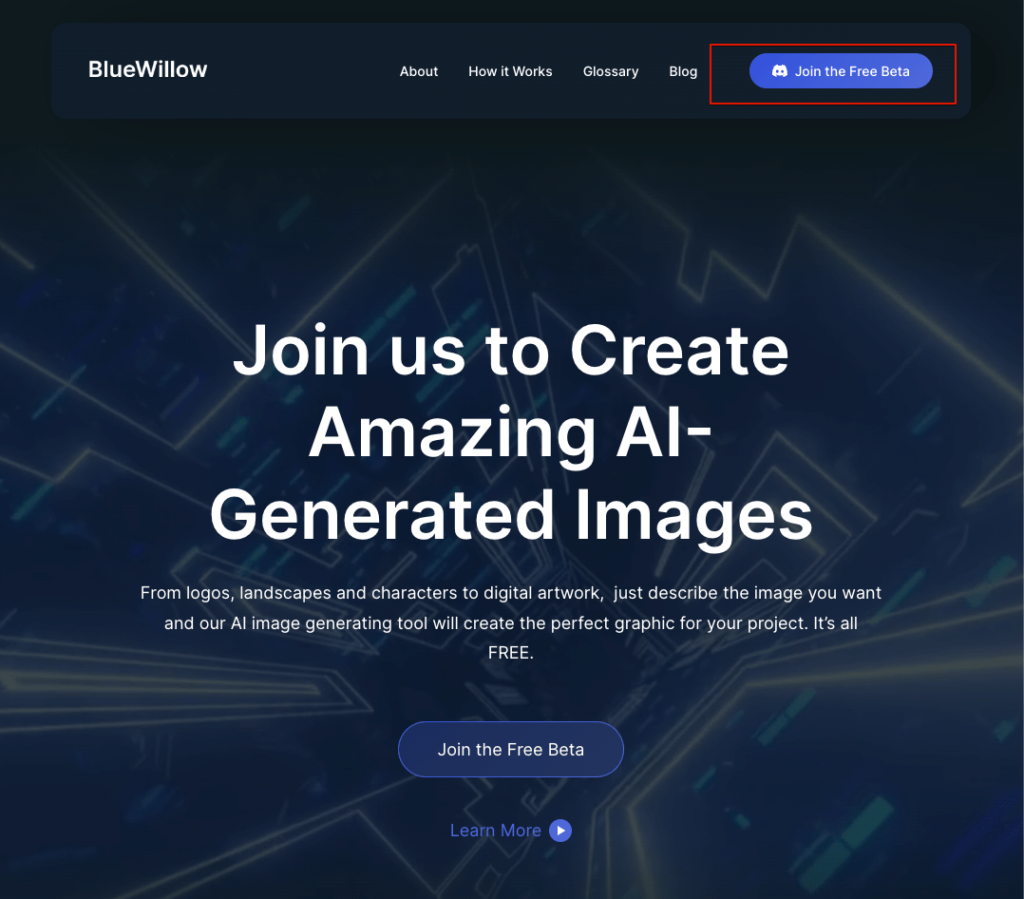
Bluewillow.aiのサイトにアクセスし、右上の「Join the Free Beta」をクリックします。Discordのアカウントを持っていない場合には、
を参照してDiscordのアカウントを作成してください。
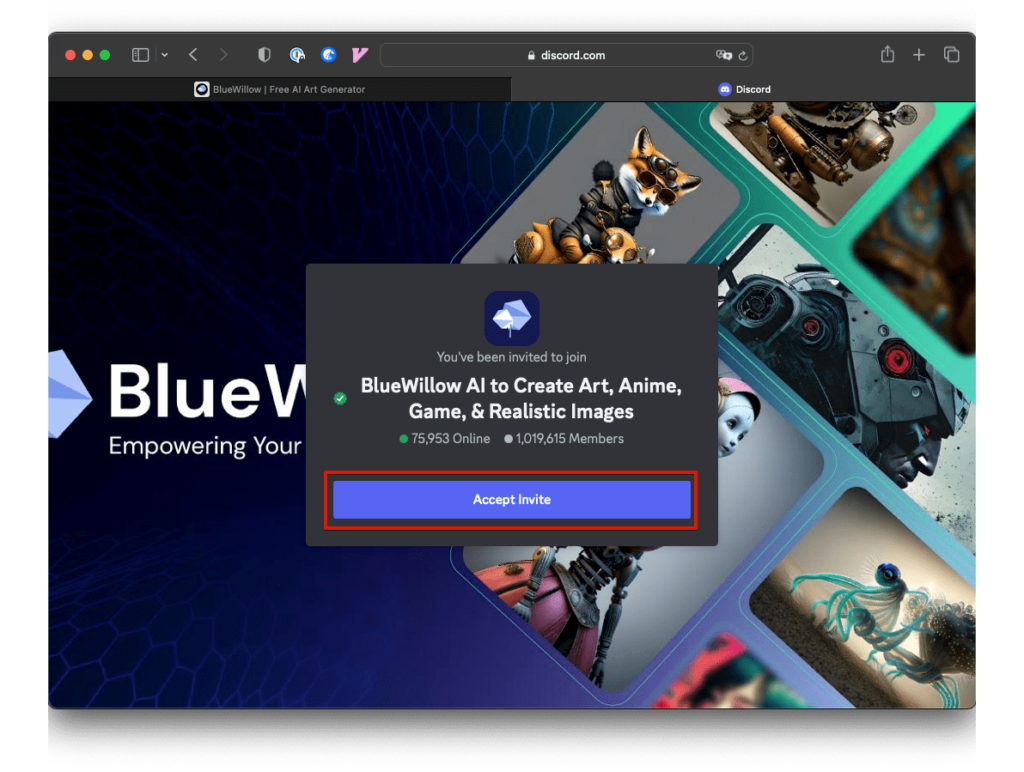
Discordへの招待が表示されますので、「Accept Invite」をクリックします。
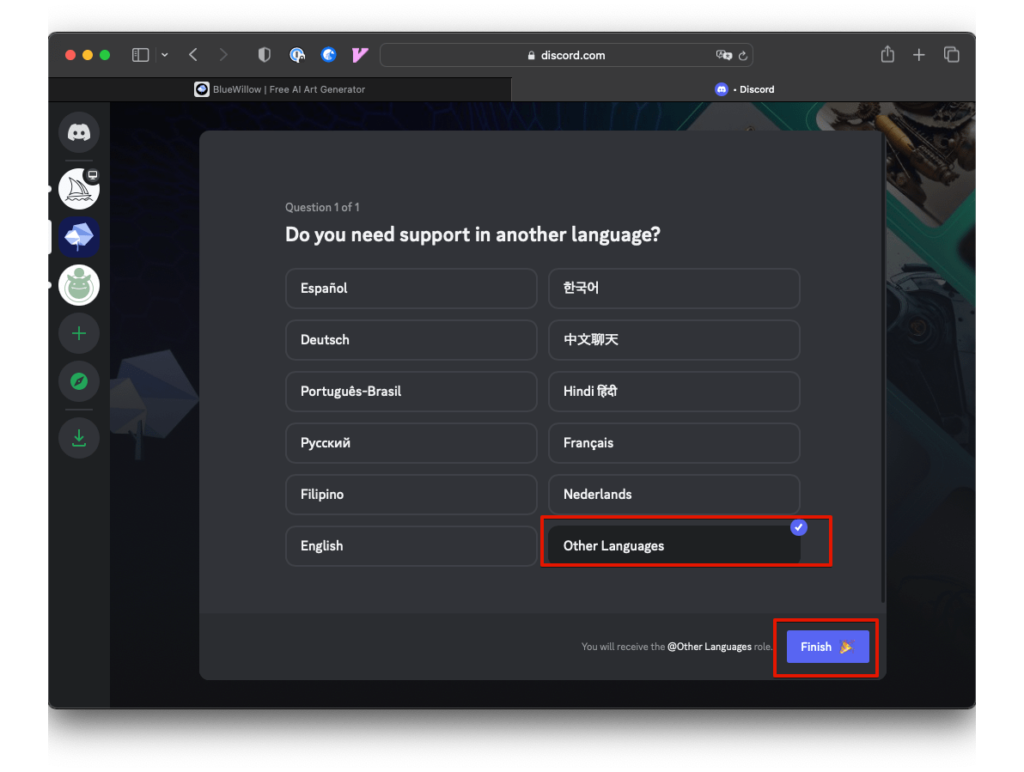
Discordが開き、言語の選択画面になります。日本語がないため「Other Languages」を選択し、「Finish」ボタンをクリックします。
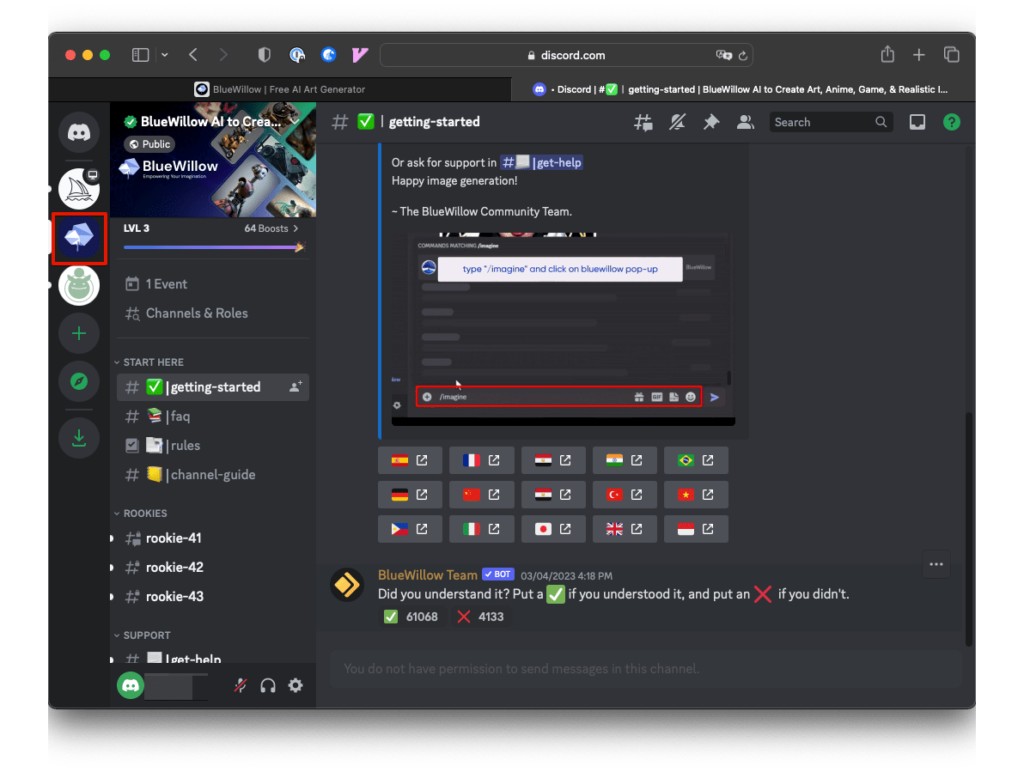
Bluewillowのサーバーが追加されました。「getting-started」チャンネルを選択すると日本語ページがあるようですのでクリックします。
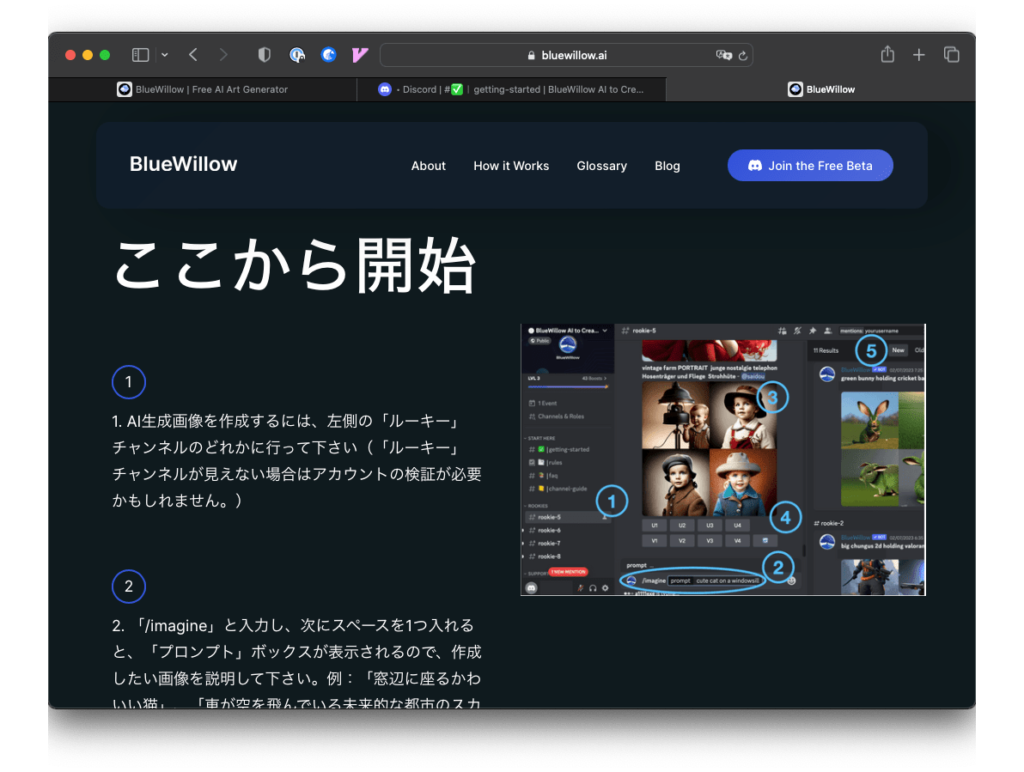
日本語で画像の作成方法が解説されています。
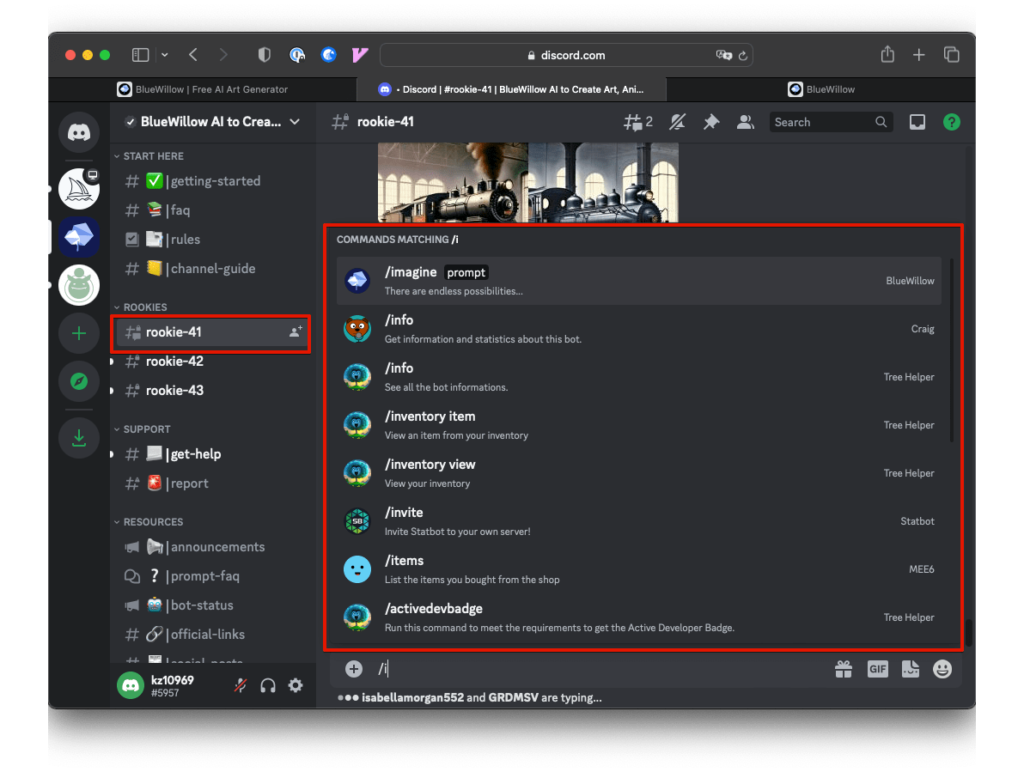
Midjourneyと同じように、コマンドを入力するようですが有料プランへの移行の「/subscribe」がありません。また、「/info」を試しましたがGPU時間などは表示されません。
「/imagin prompt 」で画像は生成できますし、その後のアップスケールやバリエーションもまったく同じUIで使えます。
Lexica.art
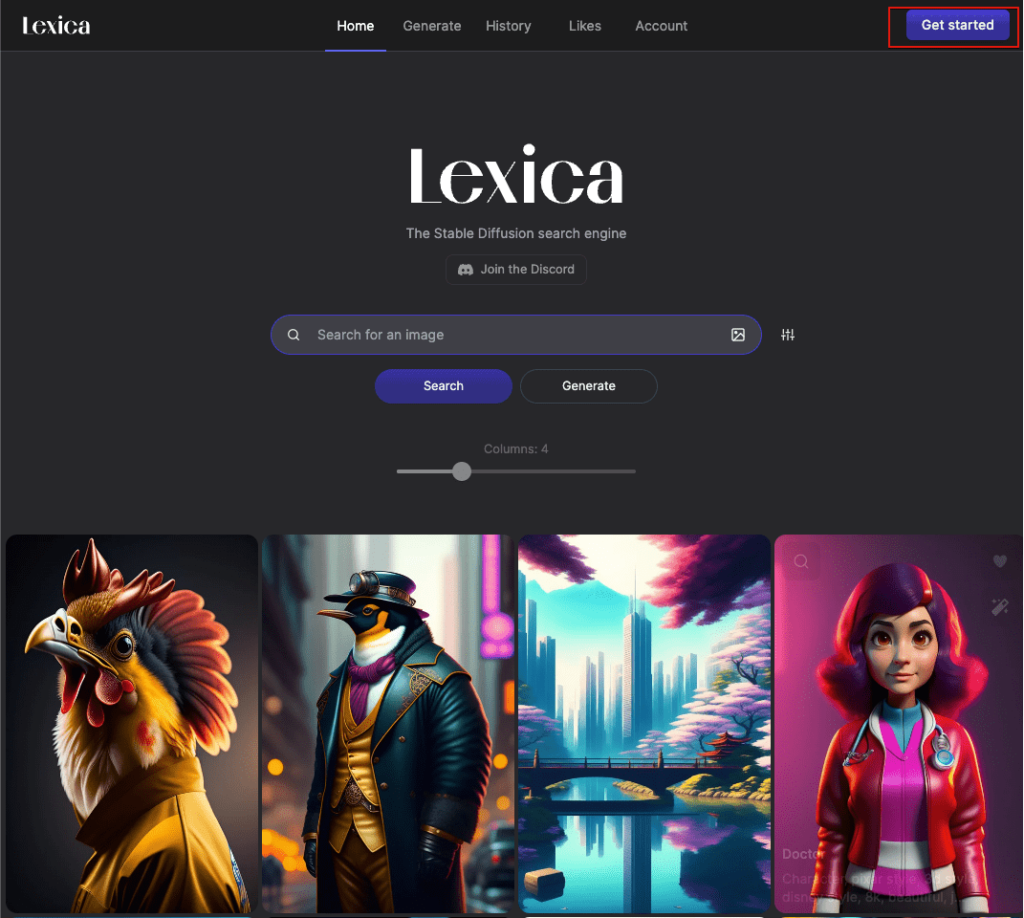
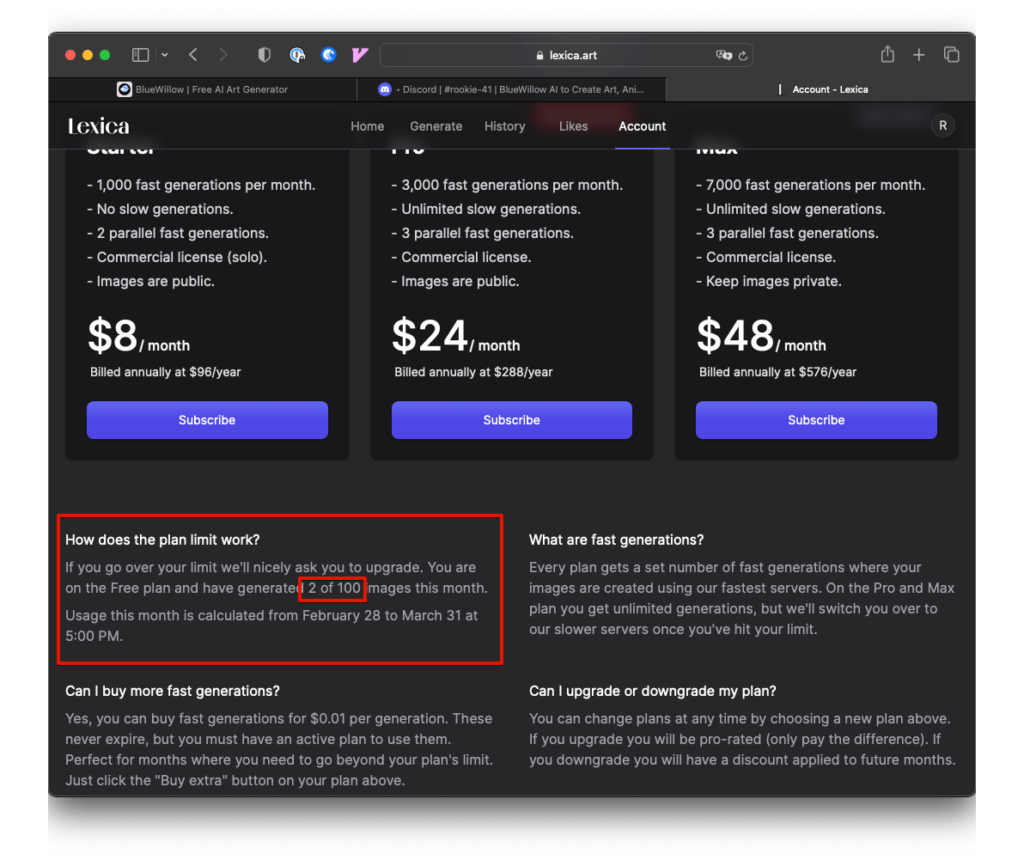
Lexica.artは、毎月100枚までは無料でイラスト作成ができます。
Lexica.artにアクセスし、右上にある「Get started」をクリックします。
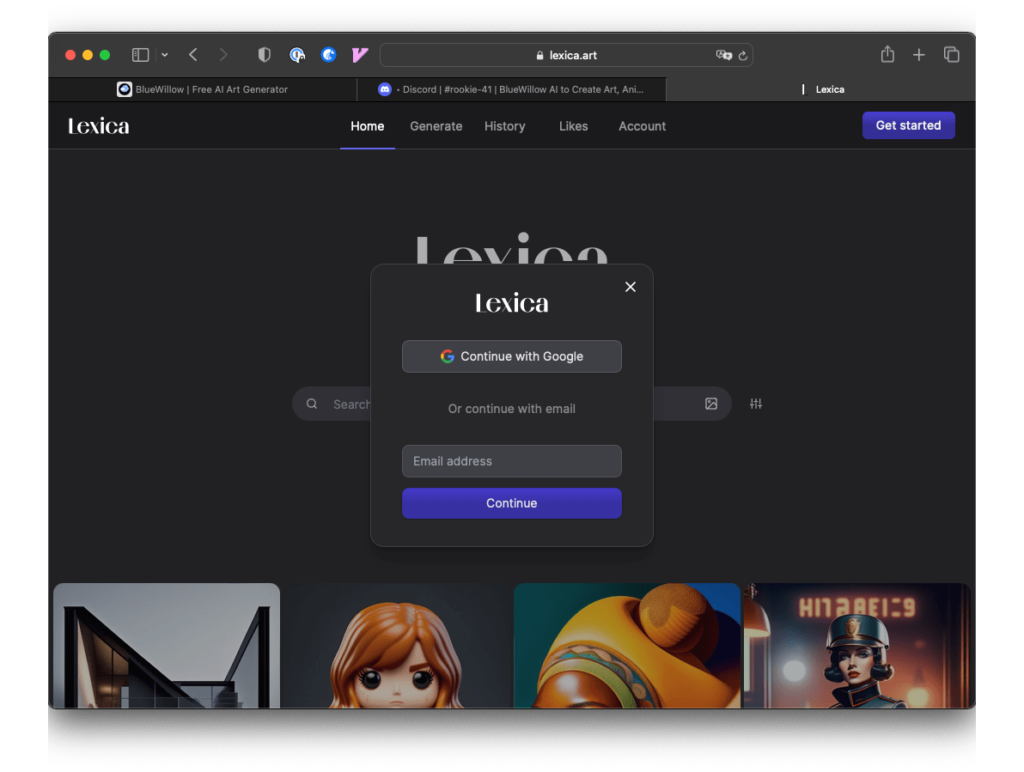
ログインするための方法を尋ねてきます。今回は、Googleアカウントをつかいました。
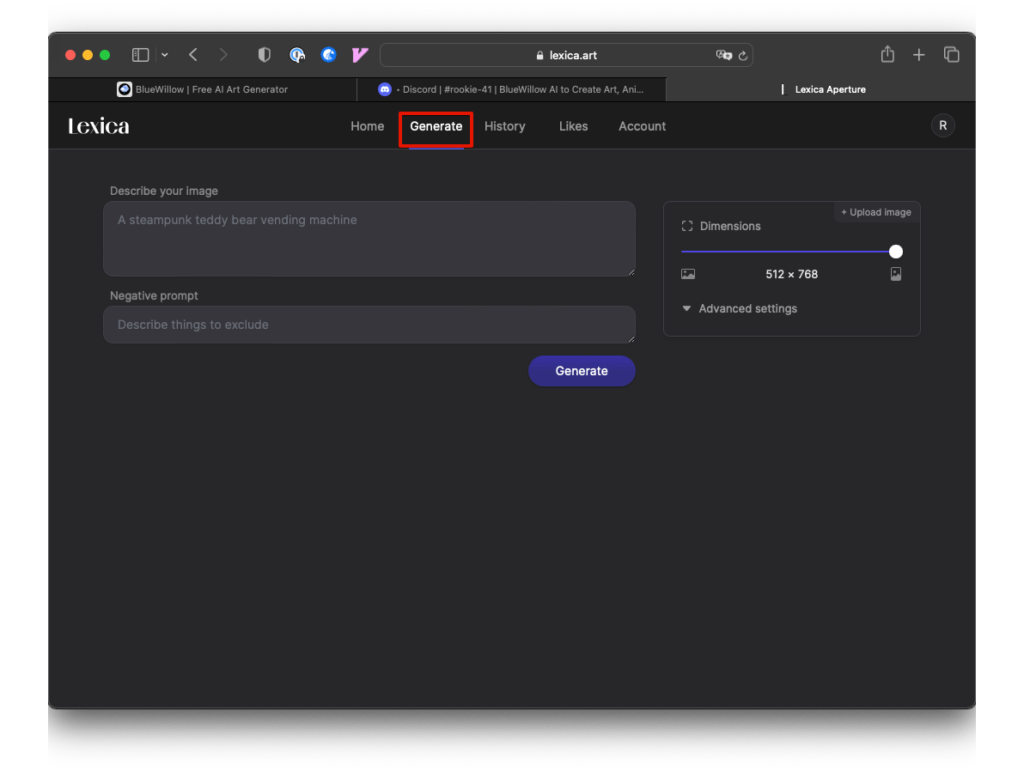
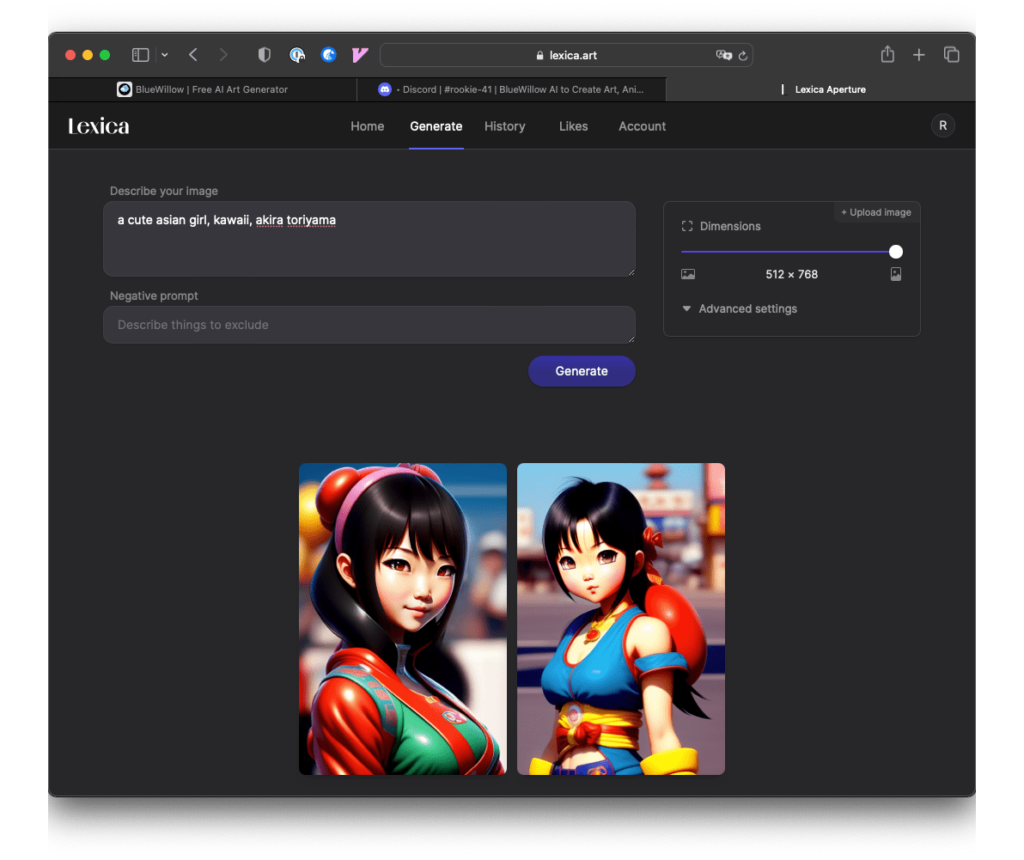
ログインが完了しましたら、「Generate」タブを選択します。
プロンプト、ネガティブ・プロンプトの入力欄があります。
プロンプトを入力し「Generate」ボタンをクリックします。
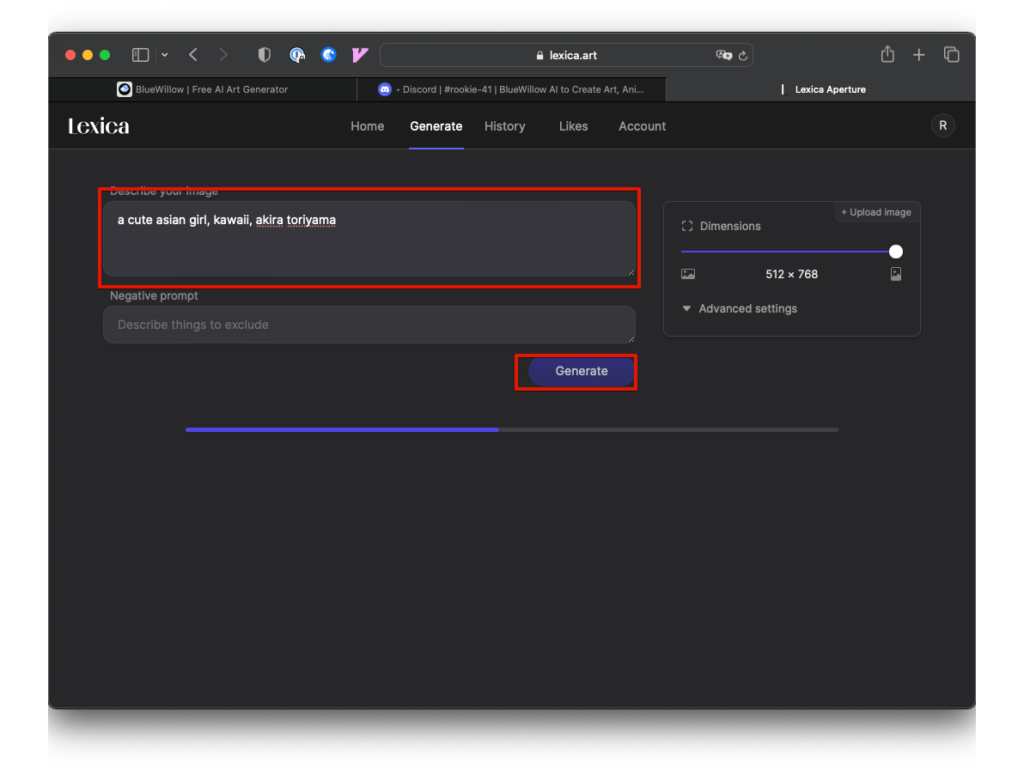
画像が作成されました。
有料プランの下に「Free Planで毎月100枚まで」と記述があります。100枚で足らない方は有料プランの選択も可能です。
Dreamlike.art
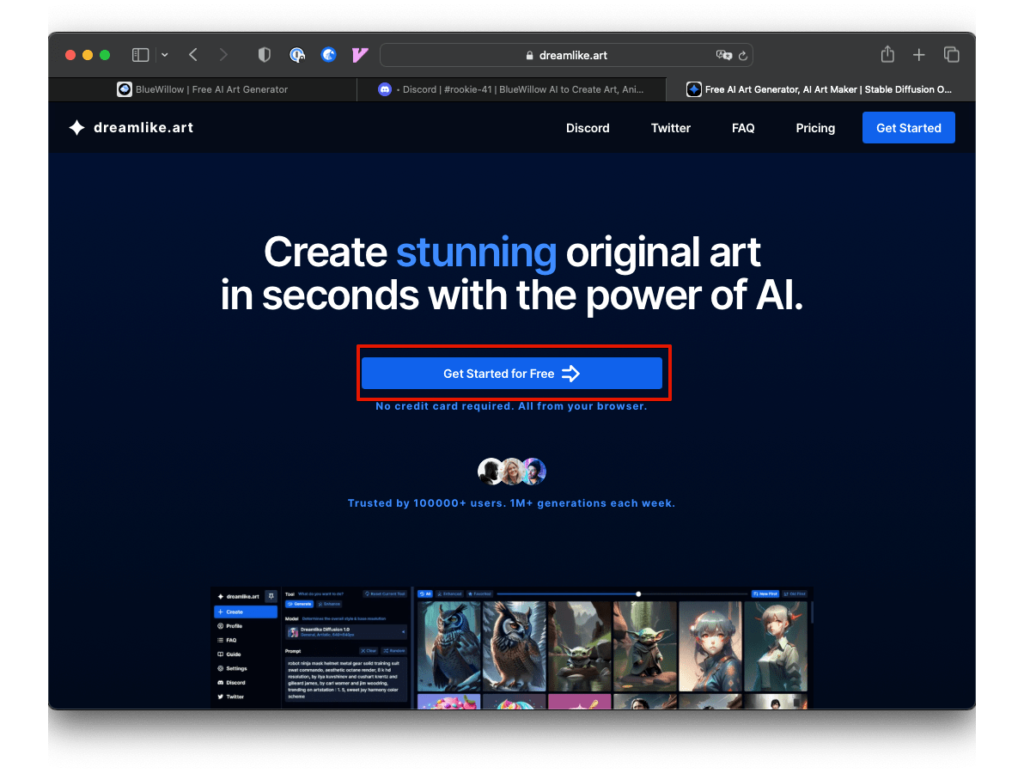
Dreamlike.artは、作成された画像を見ながらモデルを選択できます。どんな画像が欲しいかでモデルを切り替えることができます。
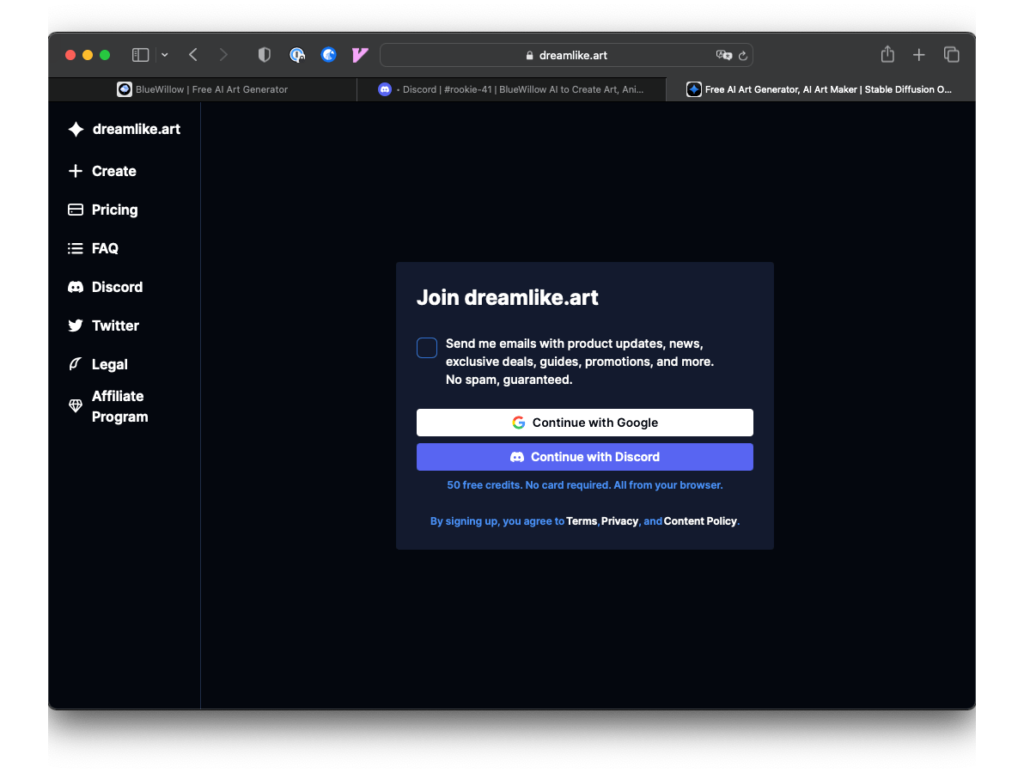
Dreamlike.artにアクセスし「Get Started for Free」をクリックします。
アカウント作成もなく、画像が作成できるのかと思いましたが・・・
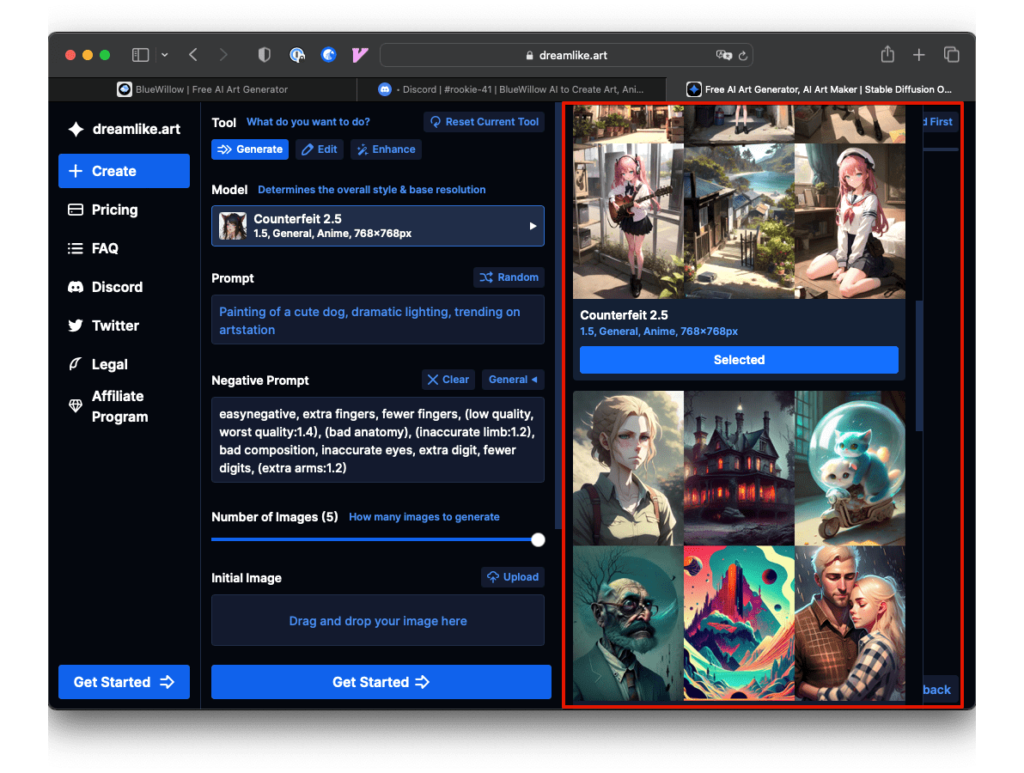
右側ペインの画像を見てモデルを選択できます。「Get Stared」をクリックします。
ここで、アカウント作成になります。今回は、Googleアカウントを使用します。
作成するモデルを選択しプロンプトを入力後「Generate 5 images」をクリックします。
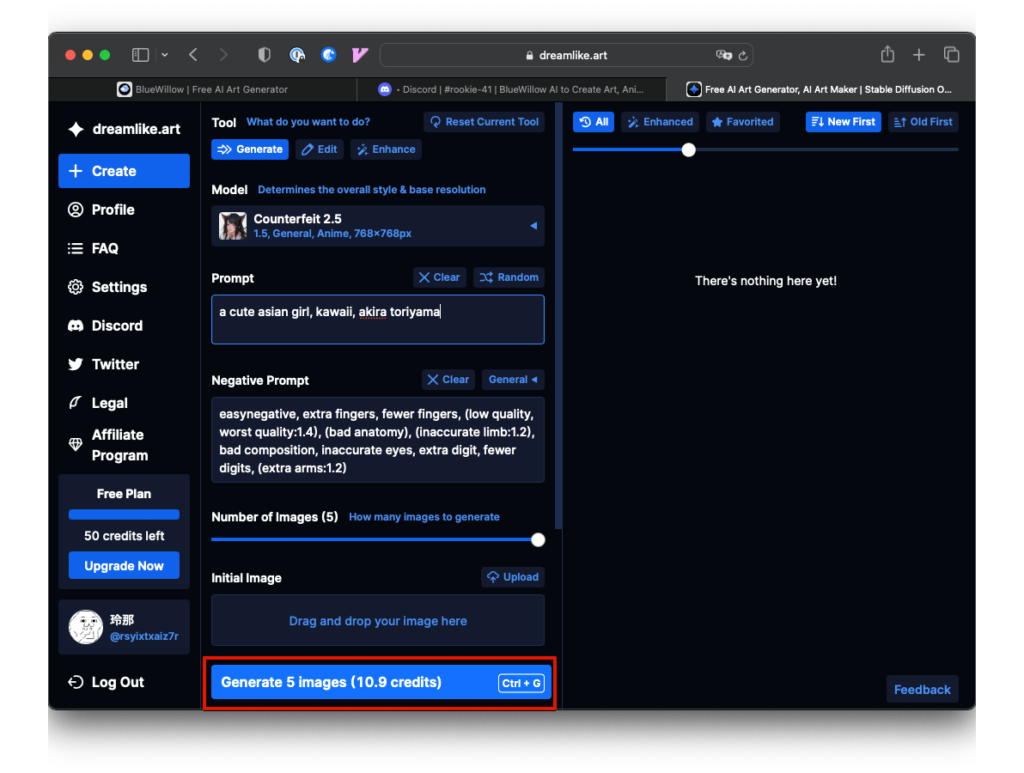
画像が作成されました。画像の上にマウスを置くとアップスケールなどのアイコンが表示されます。

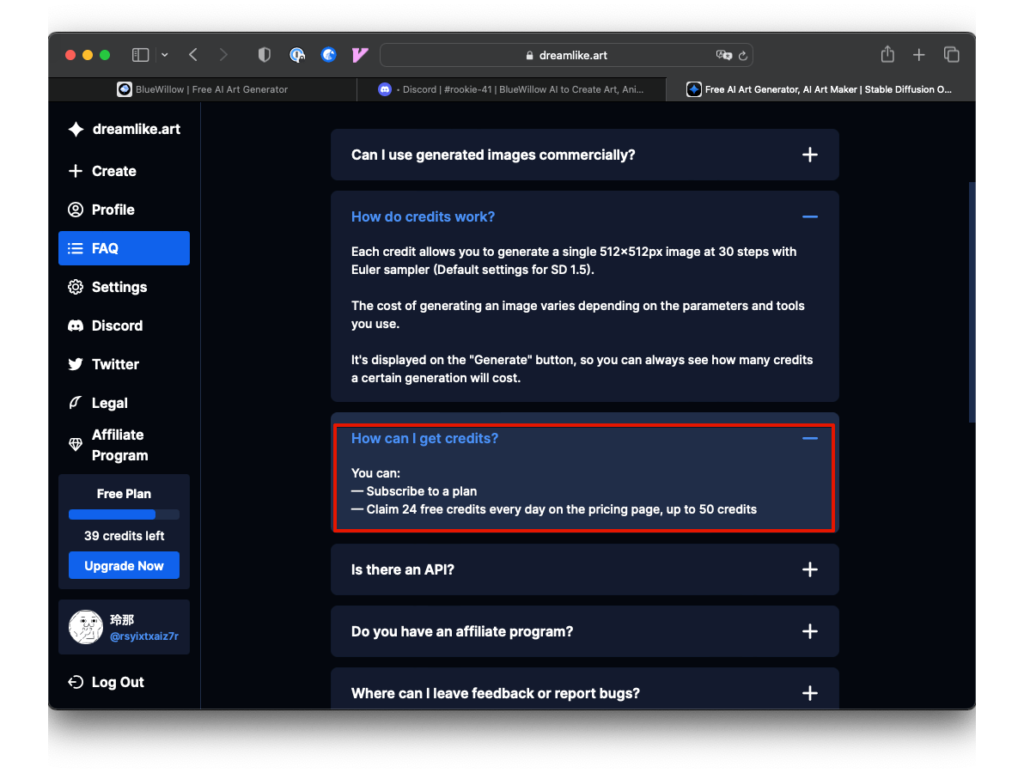
無料で使えるのはクレジットの範囲内ですが、毎日24クレジットの請求ができますが、保持できるのは最大50クレジットです。
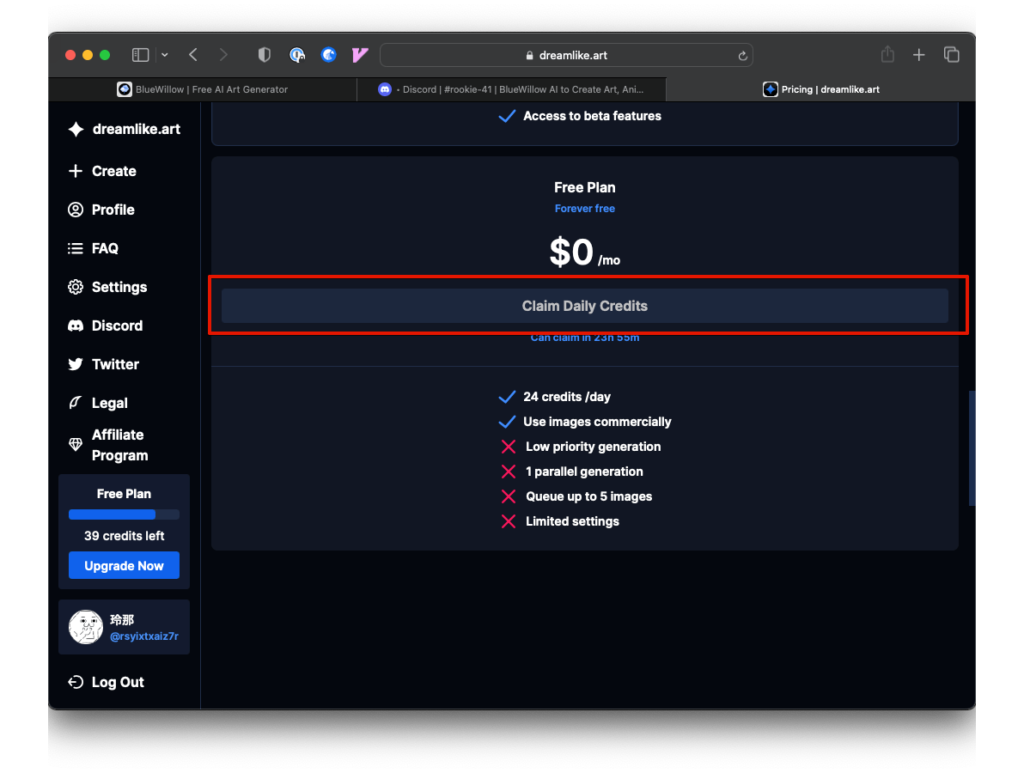
有料プランを下へスクロールすると、Free Planがありクレジット請求ボタンもあります。
Instantart.io
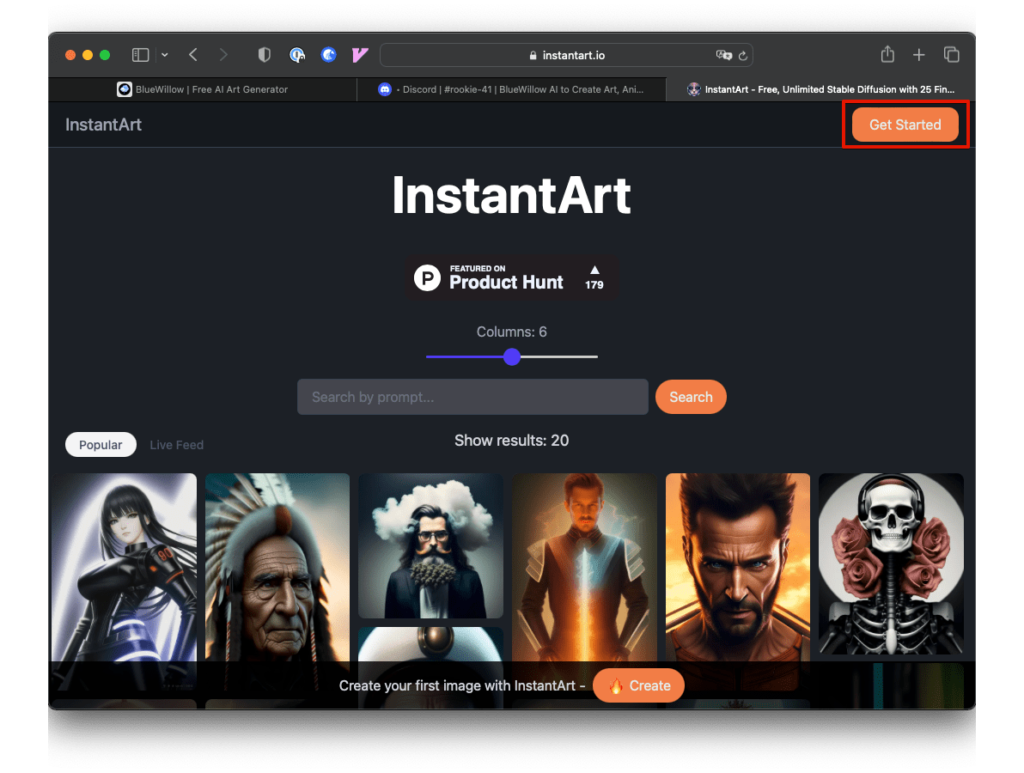
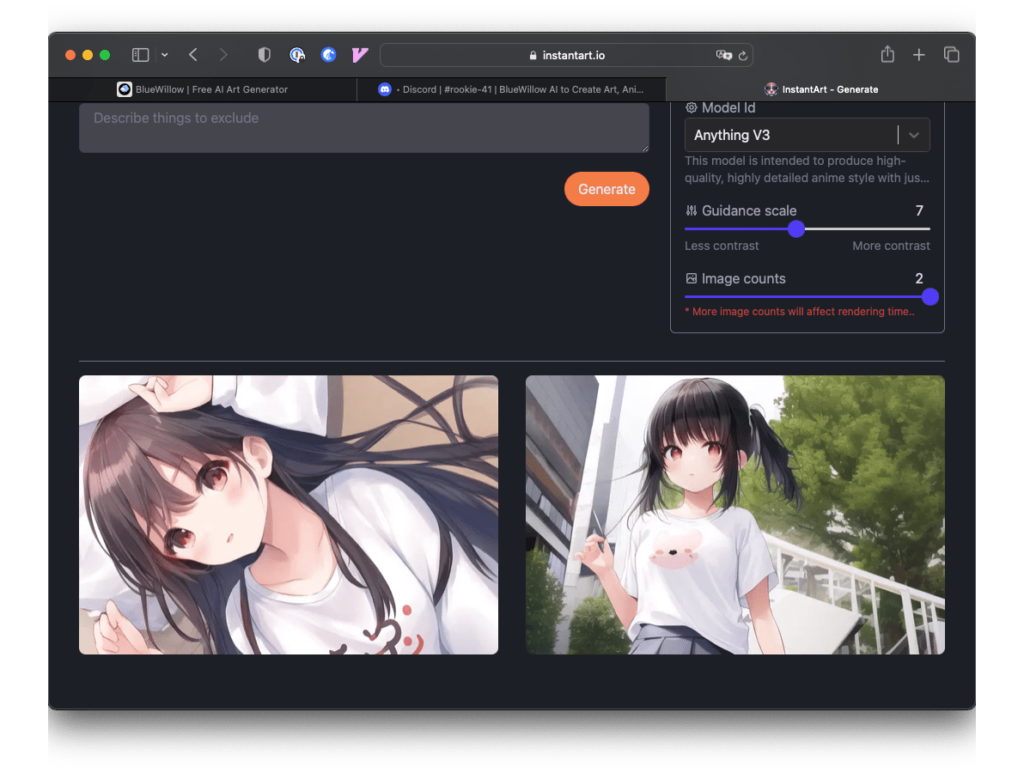
Instantart.ioも作成するモデルを選択することができますが、サンプル画像がないので事前に調べるか、試してみるしかありません。
Instantart.ioのトップページにアクセスし「Get Started」をクリックします。
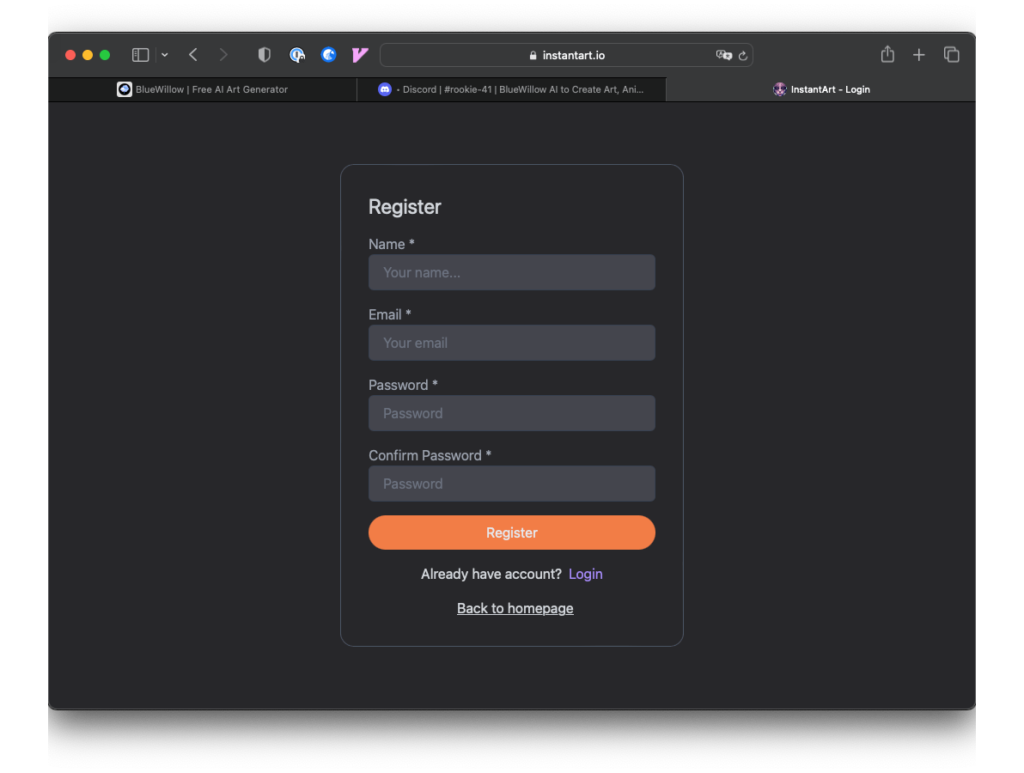
ログイン画面が出ますので「Signup」をクリックするとアカウント登録画面が表示されます。必要事項を記入し「Register」ボタンをクリックします。
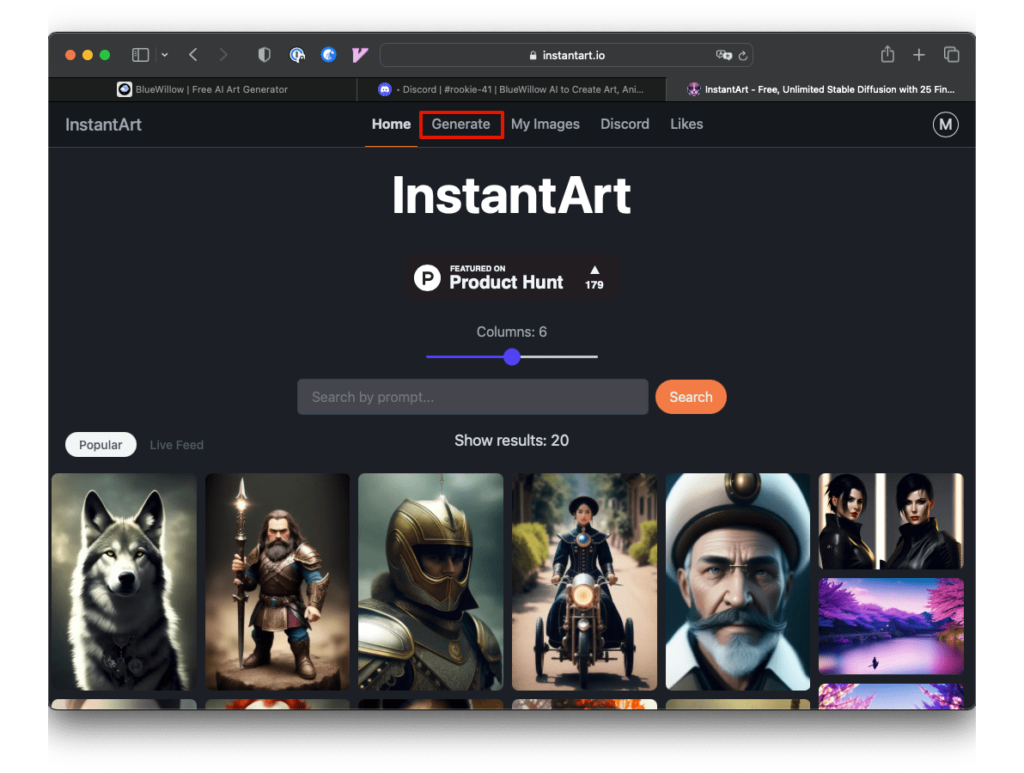
特にメールアドレス確認もなく、画像作成ページが表示されます。「Generate」タブをクリックします。
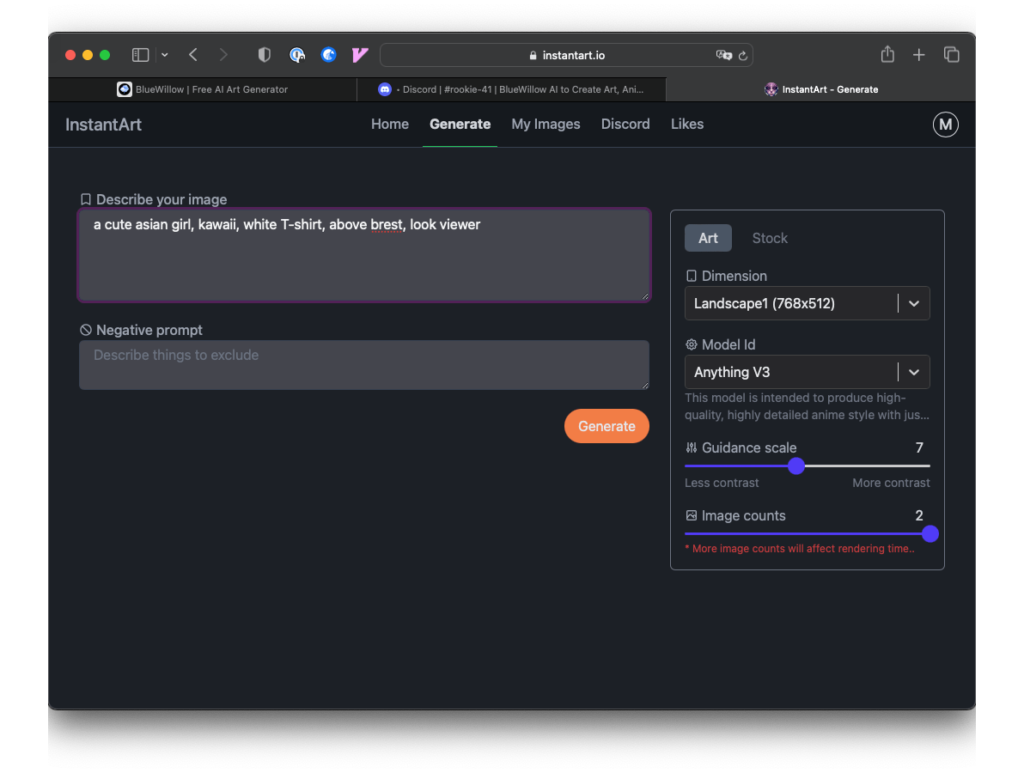
プロンプト、ネガティブ・プロンプトの入力画面が表示されます。プロンプトを入力し「Generate」ボタンをクリックします。
画像が作成されました。
Leonardo.ai
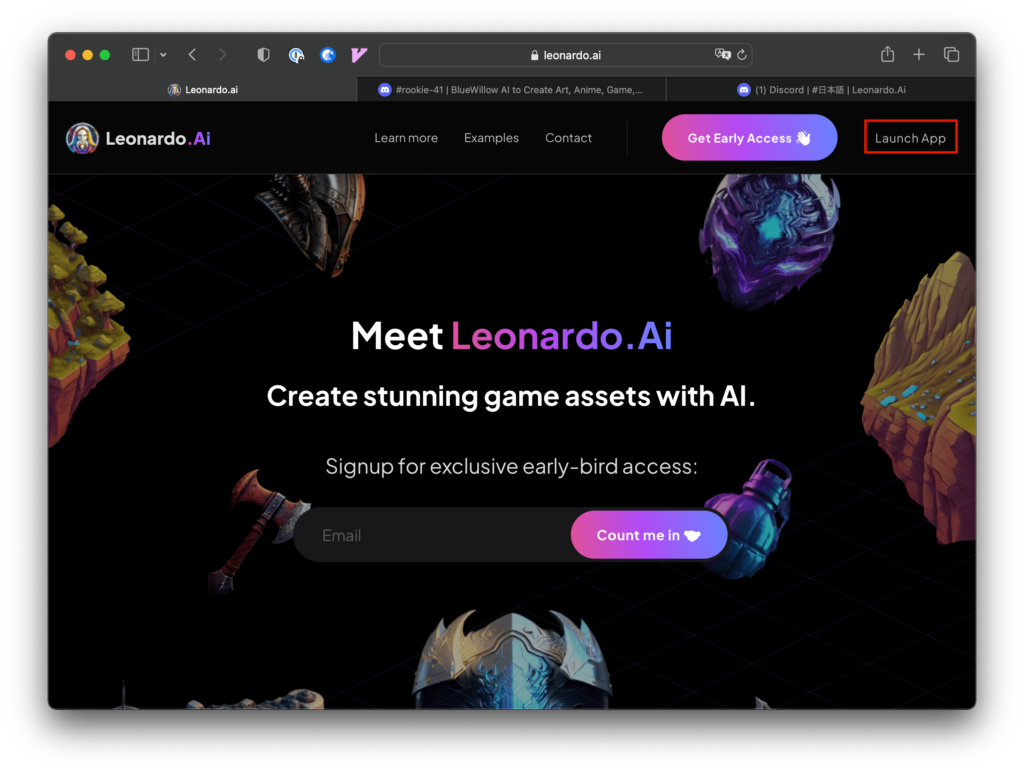
今回紹介した無料のAIイラストサイトで一番良かったのが、こちらLeonardo.aiです。
Leonardo.aiのトップへアクセスし、右上の「LaunchApp」をクリックします。
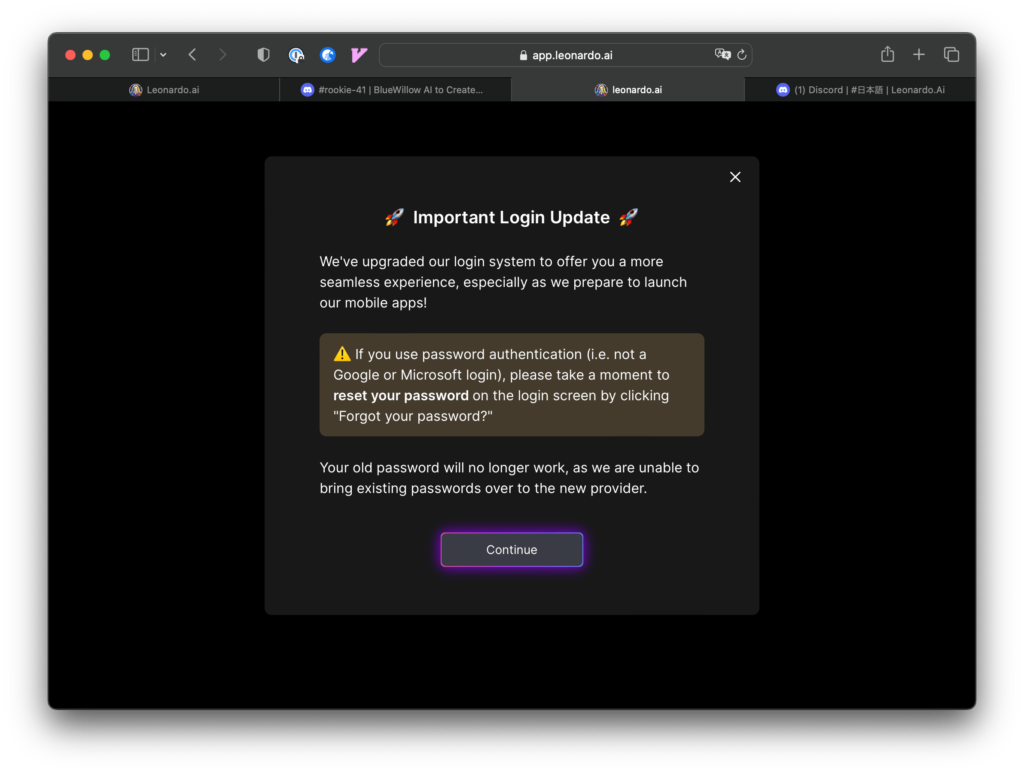
ログインシステムをアップグレードしたとお知らせが出ます。「Continue」をクリックします。
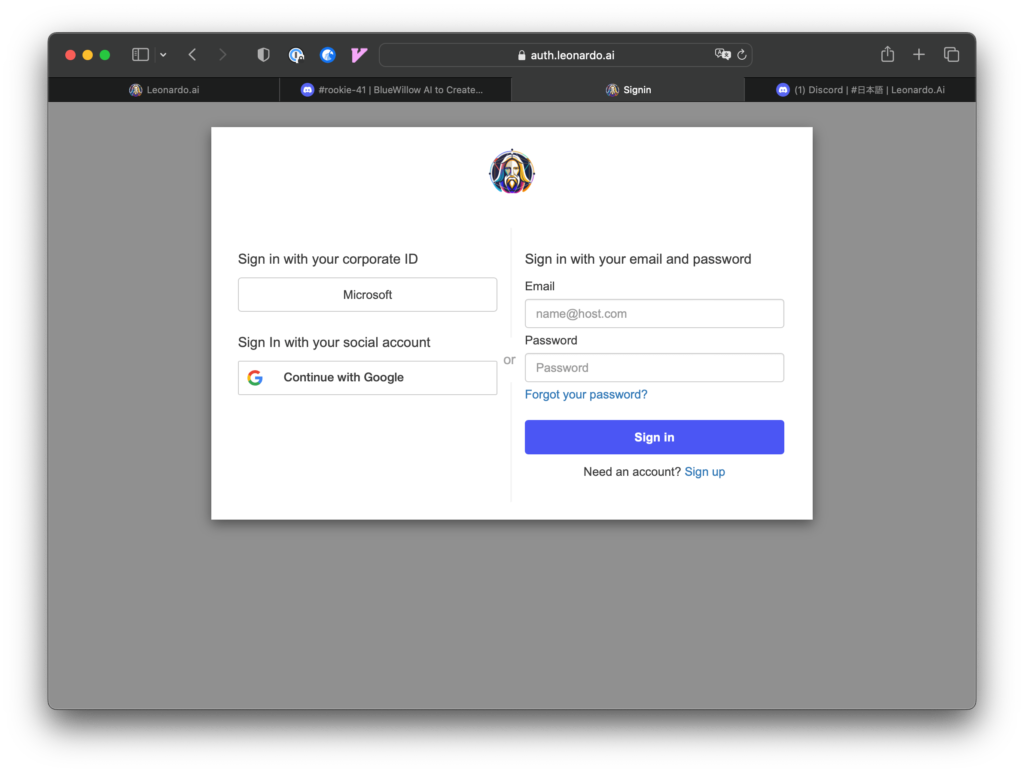
ログイン画面が表示されます。今回は、Googleアカウントを使用します。
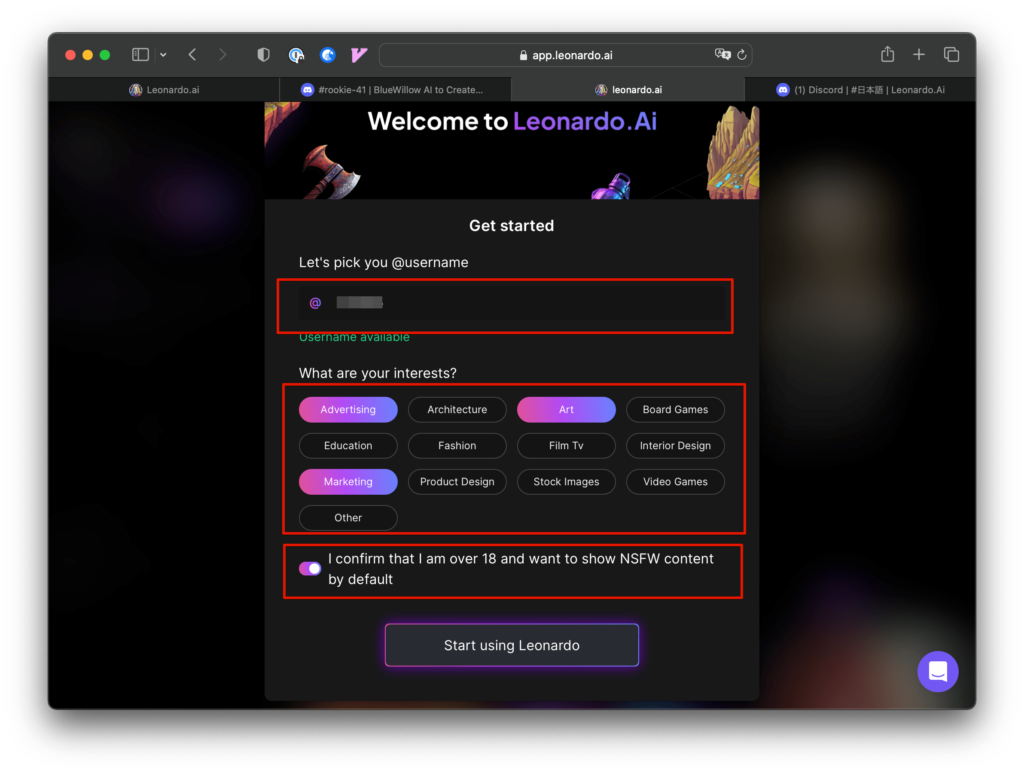
登録時には、ユーザー名の入力と興味あるカテゴリーの選択、年齢確認があります。「Start using Leonardo」をクリックします。
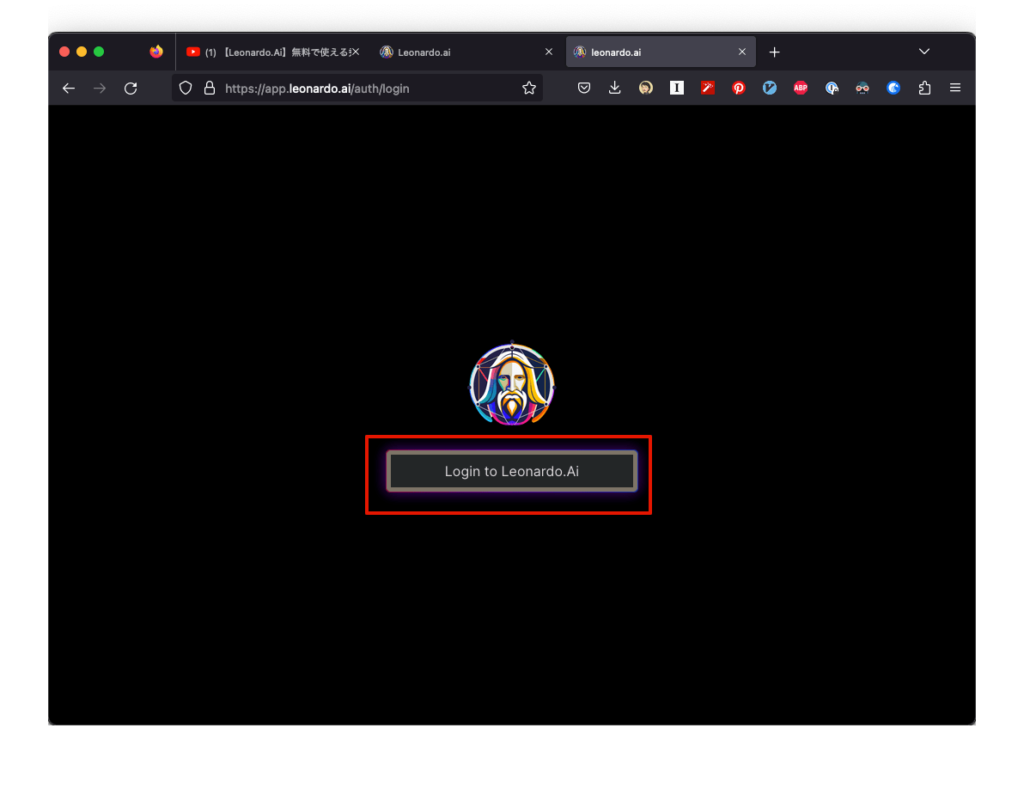
「Login to Leonardo Ai」をクリックします。
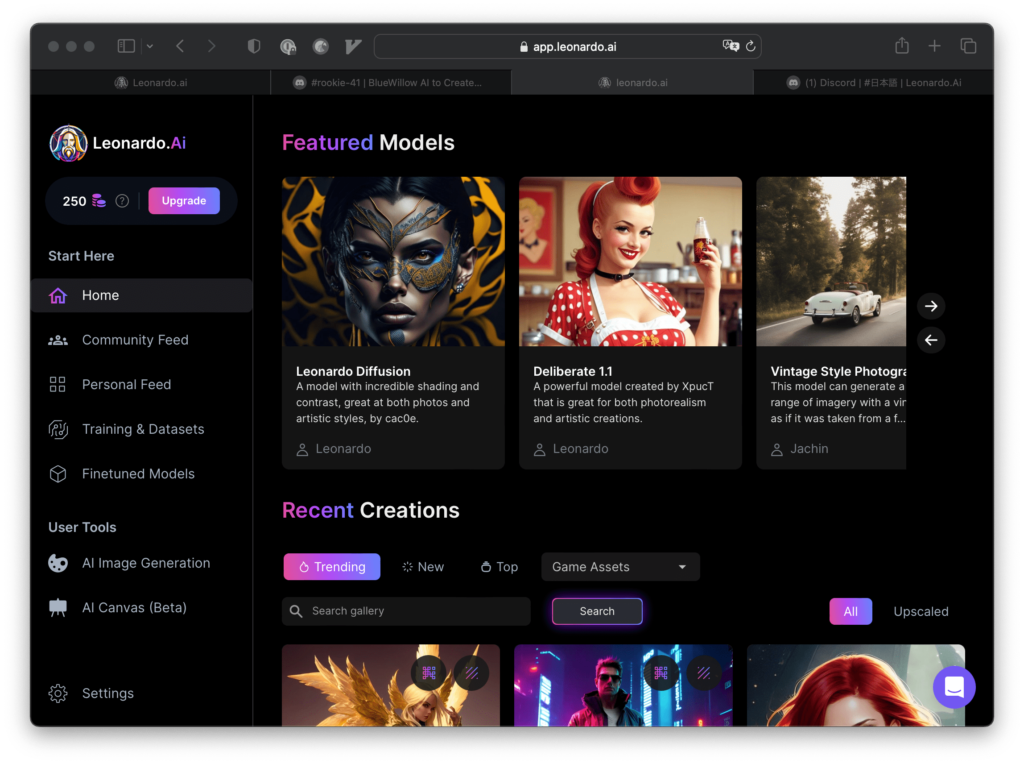
アプリケーション画面が表示されます。画像を作成するには、左サイドメニューにある「User Tools」の「Ai Image Generation」をクリックします。
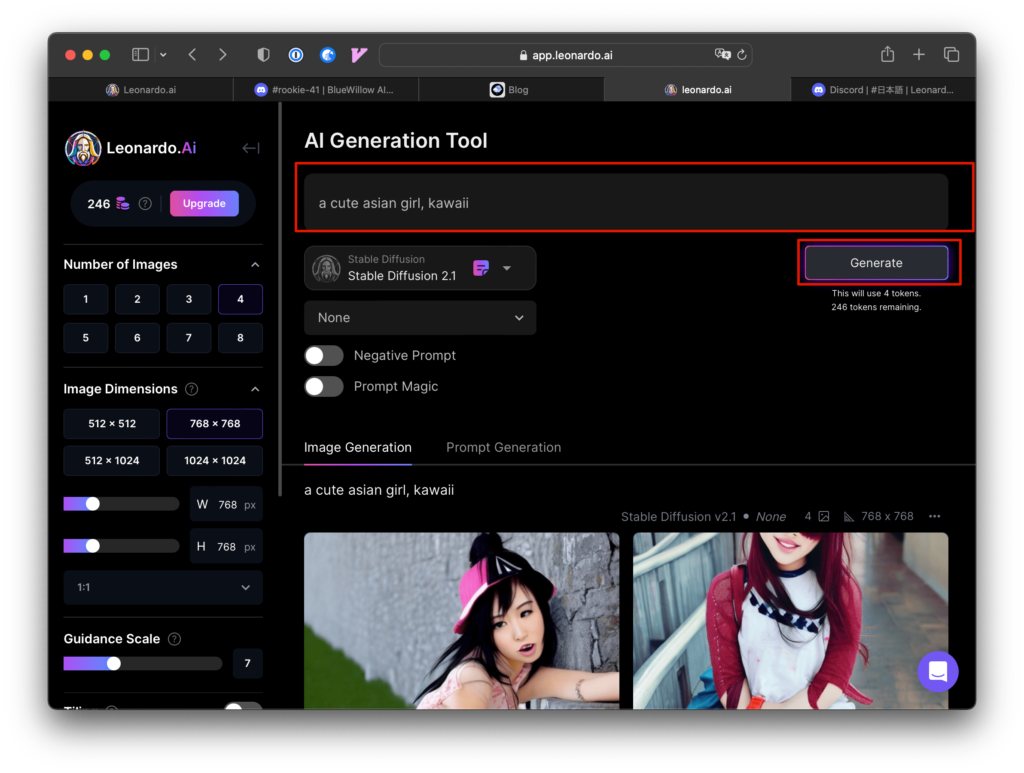
プロンプト入力欄に入力し、「Generate」ボタンで画像が作成されます。
こちらもサンプルはないのですが、モデルを選択することができます。また、ネガティブ・プロンプトの入力もできますし、左側で各種の調整も可能です。

Leonardo推しの動画がありましたので参考にしてください。
まとめ
無料範囲内で使えるAIイラストサイトをご紹介しました。
自分でGoogle Colabで環境を作成するよりは簡単ですが、調整できる項目が少ないのが気になります。
Leonardoが一番調整項目が多いようですが、できればフルに調整できると可能性が広がります。
コメント